There's a cracked concrete patio sitting behind millions of homes right now — and honestly? It's one of the best canvases you're not using. Cracks, stains, and that weathered gray surface that looks like it gave up three summers ago. I've been there. But here's the thing most people don't realize: a cracked patio doesn't need to be replaced to become something you actually want to sit on at dusk with a candle burning and a blanket across your lap. These makeovers range from $30 weekend paint jobs to slightly more involved tile overlays — and every single one of them will cost you less than a contractor quote for demolition and repour.
The hygge movement — that Danish philosophy of cozy, intentional living — has quietly made its way outdoors, and I'm here for it. Warm textures, layered materials, low lighting, the smell of citronella in the evening air. Your patio can have all of that. Even with the cracks.
First Things First: What Kind of Crack Are You Dealing With?
Before you paint, tile, or stain anything, spend ten minutes assessing the damage. Hairline cracks (thinner than a credit card) are purely cosmetic — clean them and move on. Cracks wider than a quarter-inch, especially ones that shift when you press them, may need a polyurethane concrete filler before any surface treatment. The mistake most beginners make is skipping this step and painting right over an active crack — it comes back through the finish within one season, guaranteed.
Pro tip — wire brush the crack first, vacuum out the debris, then apply filler in thin passes rather than one thick glob. Let it cure fully (usually 24 hours) before anything touches it.
The Drama of Plum: Paint That Actually Commits
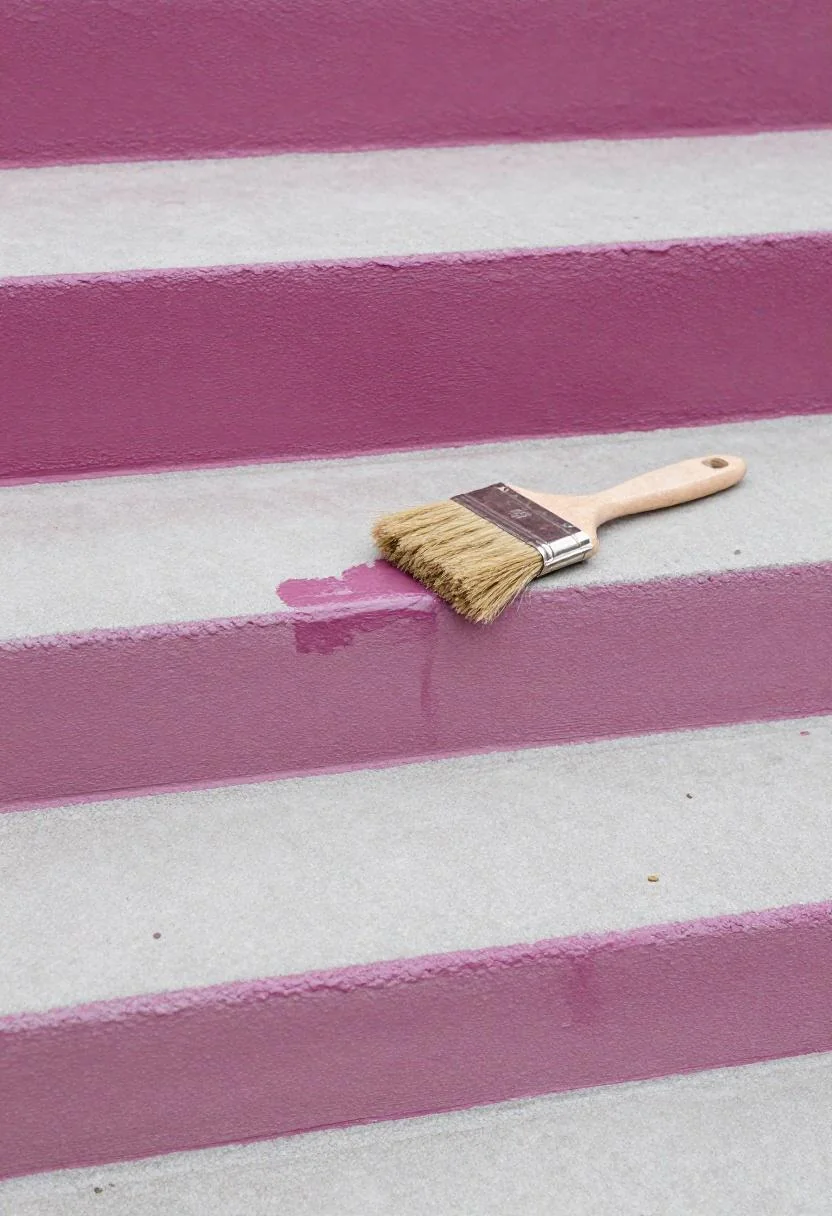
Most people default to gray or beige when they paint concrete. Bold move: don't. Plum is having a serious moment in outdoor spaces, and it reads surprisingly warm in person — not purple-purple, but that deep, almost wine-adjacent tone that looks intentional instead of accidental. Here you can see a set of steps mid-process, that natural bristle brush resting at the side like someone just paused for coffee. That's exactly how these projects go, and I love that this image doesn't pretend otherwise.
For concrete steps specifically, use a porch and floor enamel rated for foot traffic — regular exterior paint will chip within months. Two coats minimum, three if you want it to last through winter. The whole project takes a Saturday and maybe two hours Sunday morning for the final coat.
As Elle Decor has pointed out, moody outdoor color is one of the fastest ways to make a small space feel designed rather than abandoned. Plum does exactly that.
Tile Overlay: The "I Can't Believe It's Not New" Trick
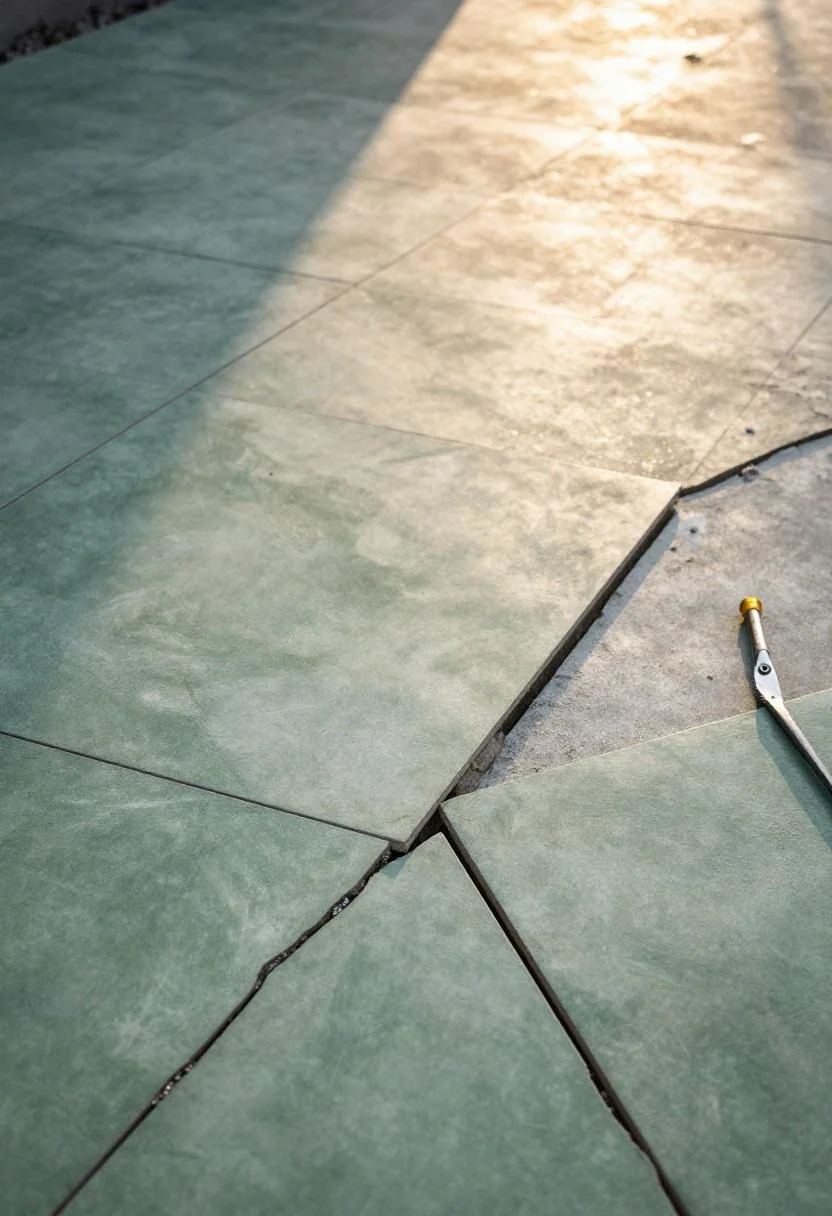
Jade green porcelain tiles laid directly over cracked concrete — and this golden hour shot makes it look like a boutique hotel courtyard. Tile overlay is genuinely one of the most transformative options on this list, and it doesn't require removing the old slab. You're essentially creating a new floor on top of the existing one.
Here's the trick: use a flexible tile adhesive (not standard thinset) so the bond can move slightly with the concrete without cracking the grout lines. Keep tiles under 12x12 inches for a patio that's not perfectly level — larger format tiles will rock on uneven surfaces. This jade green shade brings a lush, garden-path energy that pairs beautifully with trailing plants and terracotta pots. For more patio inspiration once you've got your base sorted, our guide to simple concrete patio ideas has a lot of practical follow-through options.
Grout as a Design Element (Yes, Really)
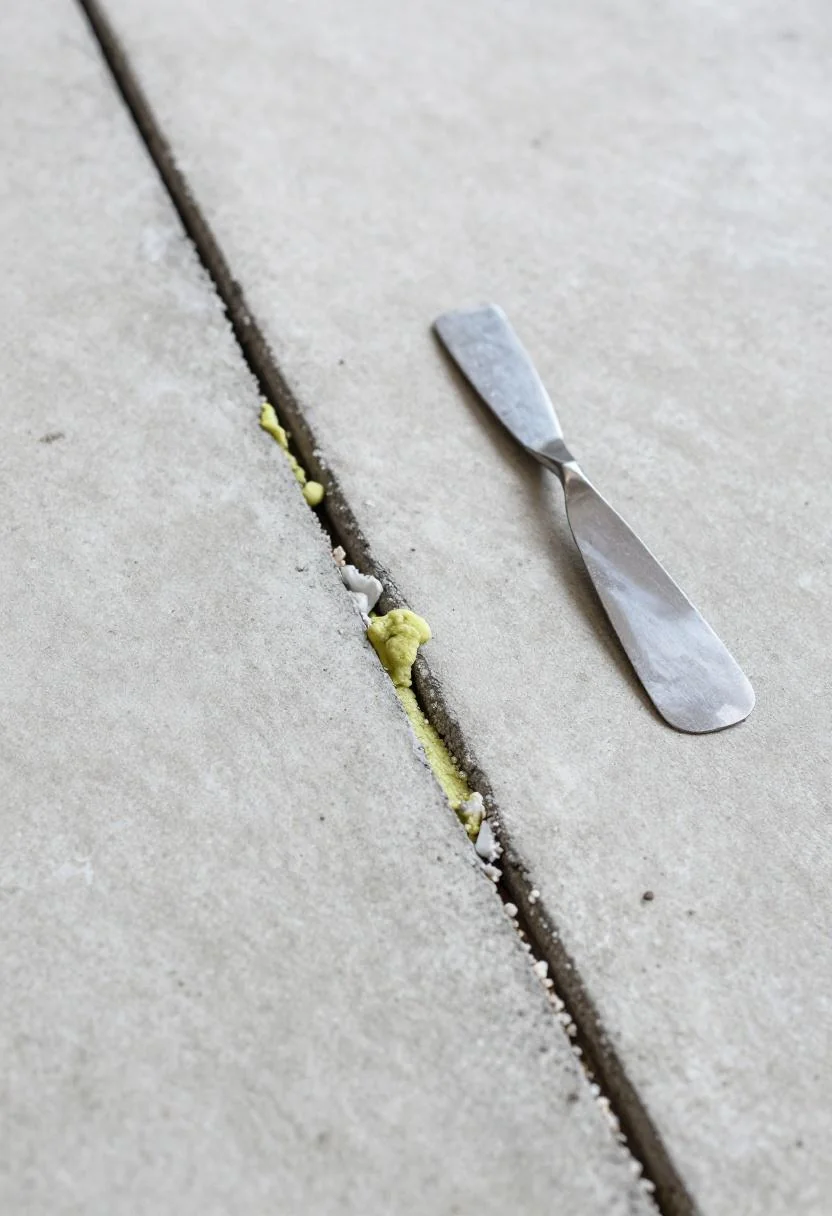
Wasabi. As grout. In a crack.
I know that sounds unhinged, but look at this close-up overhead shot and tell me it doesn't look intentional. Colored epoxy grout — especially in unexpected shades like this yellow-green — turns a crack into a feature rather than a flaw. This is the Japanese kintsugi philosophy applied to concrete: repair with something that draws the eye rather than something that hides. Epoxy grout is also genuinely more durable than standard grout and resists staining, which matters outdoors.
You can pull this off in an afternoon for under $30. Mix the epoxy, work it into the crack with a grout float, wipe the excess with a damp sponge before it sets. The wasabi color here is bold enough to read as a design choice from several feet away — which is the whole point.
The Rattan-and-Urn Move for Mediterranean Evenings
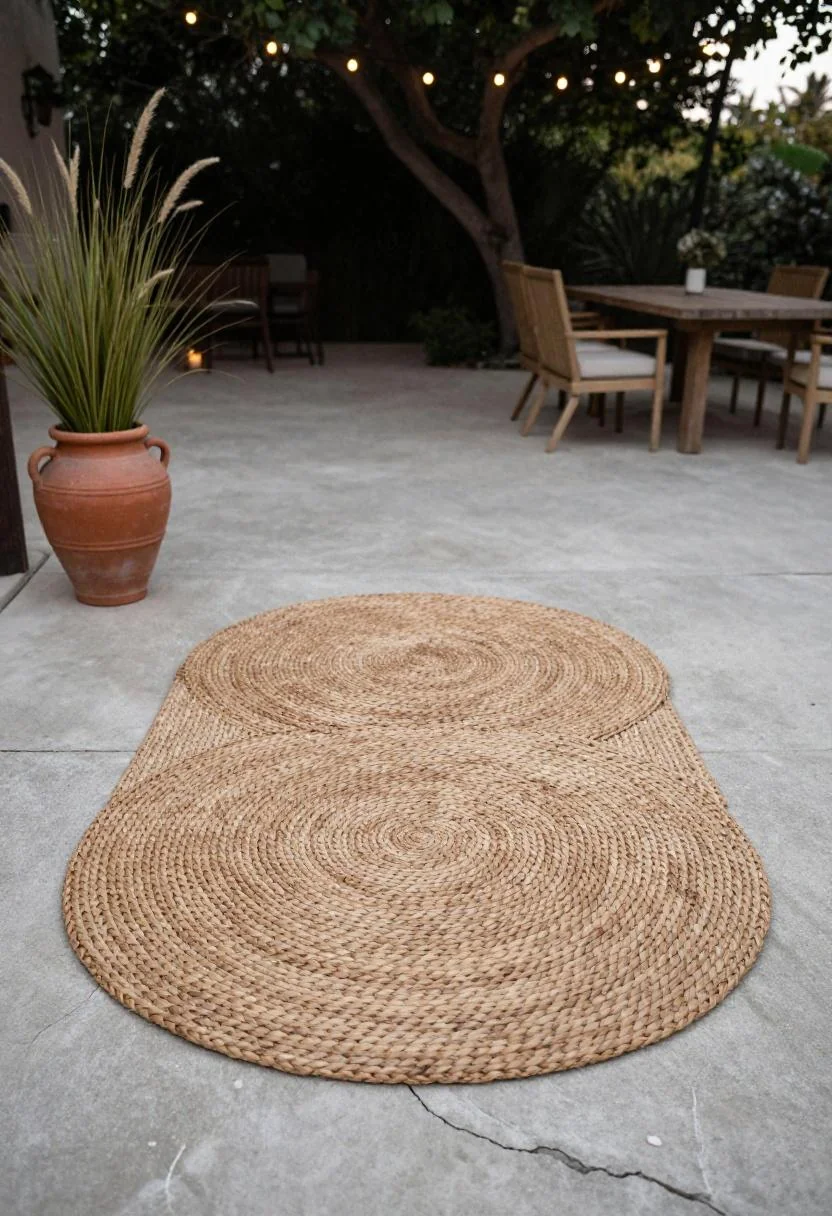
Sometimes the answer isn't treating the concrete at all — it's layering over it so thoughtfully that the cracks become irrelevant. This dusk scene says everything: a rattan rug (outdoor-rated, not indoor — crucial distinction), a persimmon urn overflowing with ornamental grass, and the cracks below are simply... part of the character. The warm orange of the urn against that deep evening light is exactly the cozy outdoor moment we're all chasing.
Outdoor rattan rugs have gotten dramatically better in the past few years — they're UV-resistant, mold-resistant, and look genuinely good rather than like an afterthought. Get one sized to anchor your seating area, and place a rug pad underneath to keep it from shifting on the uneven surface.
If you love this Mediterranean layering approach, our roundup of Mediterranean villa style design ideas goes deep on how to carry this aesthetic from the patio into the home.
Concrete Stain: Before-and-After in One Afternoon
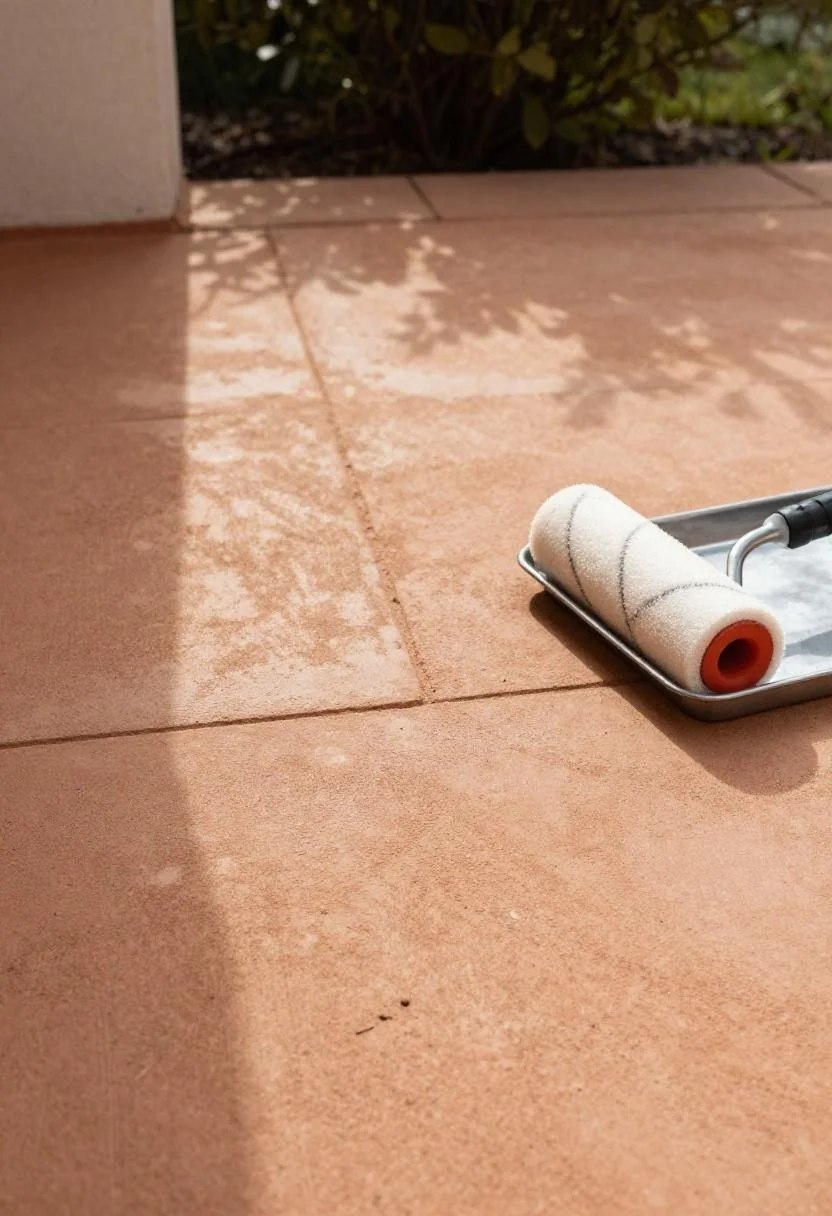
This before-and-after image is genuinely one of the most convincing arguments for concrete stain I've ever seen. The warm terracotta tone on the finished half looks like it was always meant to be there — almost like a natural stone. The untreated half is classic tired concrete. Same slab. One afternoon of work separating them.
Acid stain penetrates the concrete rather than sitting on top, which means it doesn't peel or chip. The color variation is inherent to the process — each section absorbs slightly differently, which creates that mottled, organic look you'd pay a lot of money for in tile. Terracotta reads warm even in overcast light, which makes the patio feel usable more months of the year. Clean the concrete thoroughly, apply the stain with a pump sprayer or foam brush, neutralize with baking soda and water, then seal with a concrete sealer rated for exterior use.
Snap-Down Rubber Pavers: Weekend Project, Zero Commitment
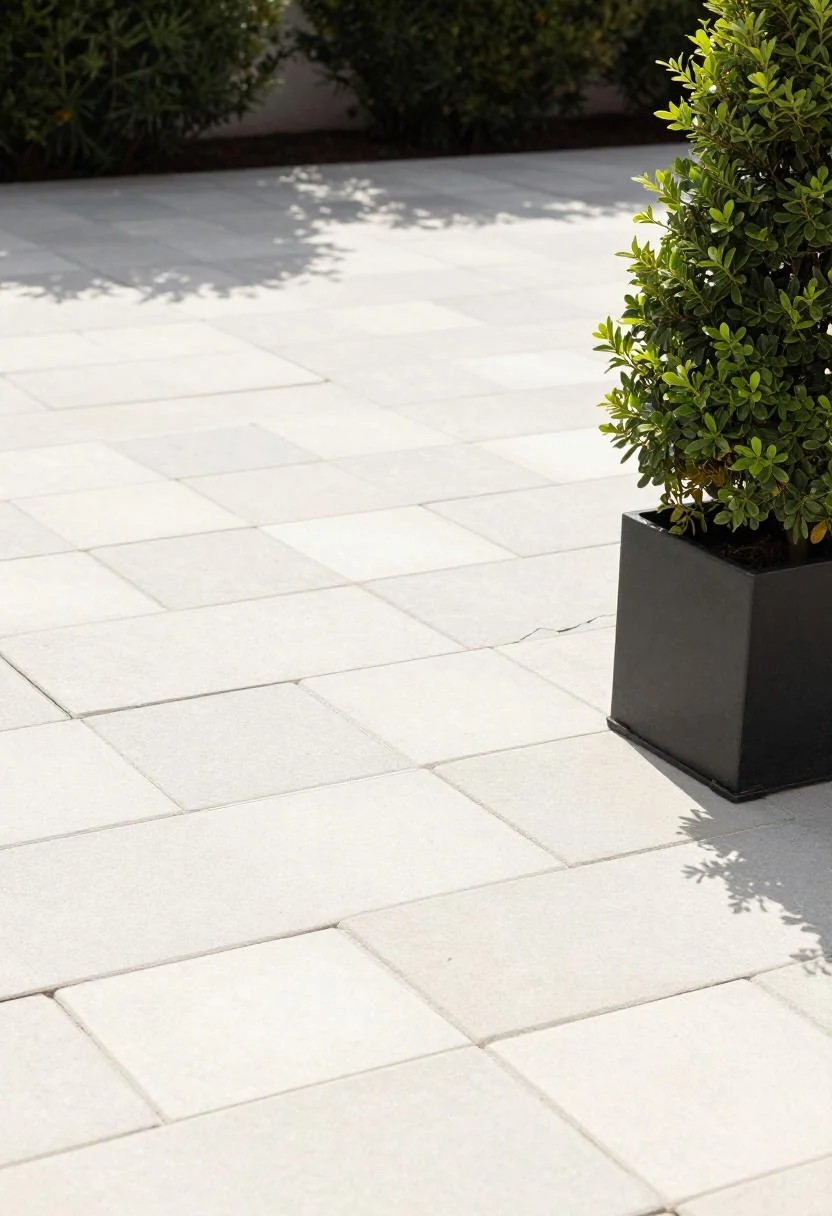
If you're renting, or if you just want a reversible solution, rubber pavers are your answer. These cream white interlocking tiles snap together over the existing concrete — no adhesive, no tools beyond a utility knife to trim edges. The boxwood in that sleek black steel planter grounds the whole scene beautifully.
The mistake most beginners make with rubber pavers is buying the cheapest option, which goes yellow within one summer in UV exposure. Look for UV-stabilized versions — they cost slightly more upfront but hold their color through multiple seasons. Cream white specifically is having a moment in outdoor spaces: it reads fresh, it reflects heat rather than absorbing it, and it makes even a small patio feel larger.
The Zen Garden Approach: Slate + River Gravel
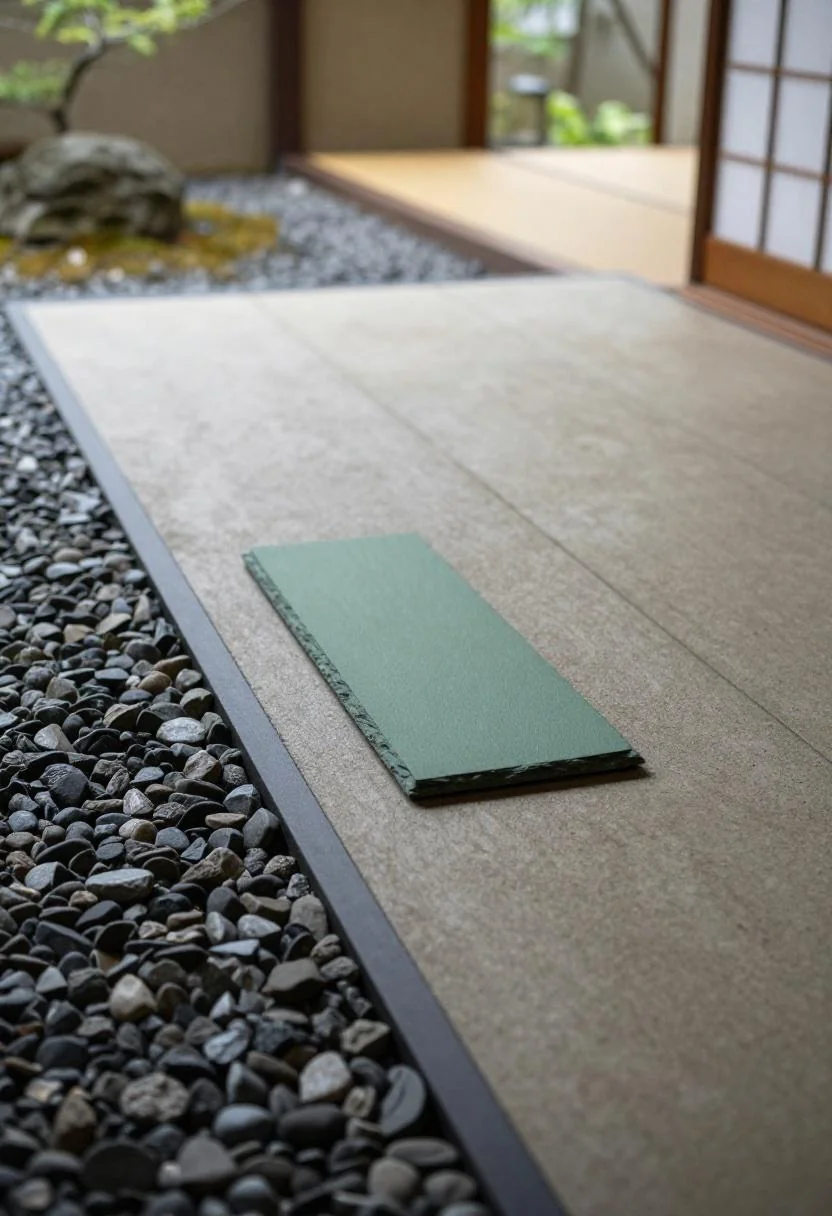
Sage green slate tiles surrounded by a river gravel border — and suddenly you're not looking at a cracked patio anymore, you're looking at a zen garden. This approach works especially well when the cracking is concentrated in specific areas: tile where it's structural, gravel where it's not.
River gravel is remarkably inexpensive (often under $5 per 50-lb bag at hardware stores) and requires zero installation skill. Define the border with a flexible aluminum edging strip, fill with 2-3 inches of gravel, and the contrast between the smooth slate and textured gravel creates that layered, intentional look. The sage green slate adds a botanical quality that makes the whole space feel alive even before you add a single plant.
Pair this with string lights overhead and a single large candle lantern at floor level — the hygge outdoor setup that actually makes you want to sit outside after dinner instead of retreating indoors.
Stencil Power: Geometry Over Cracks
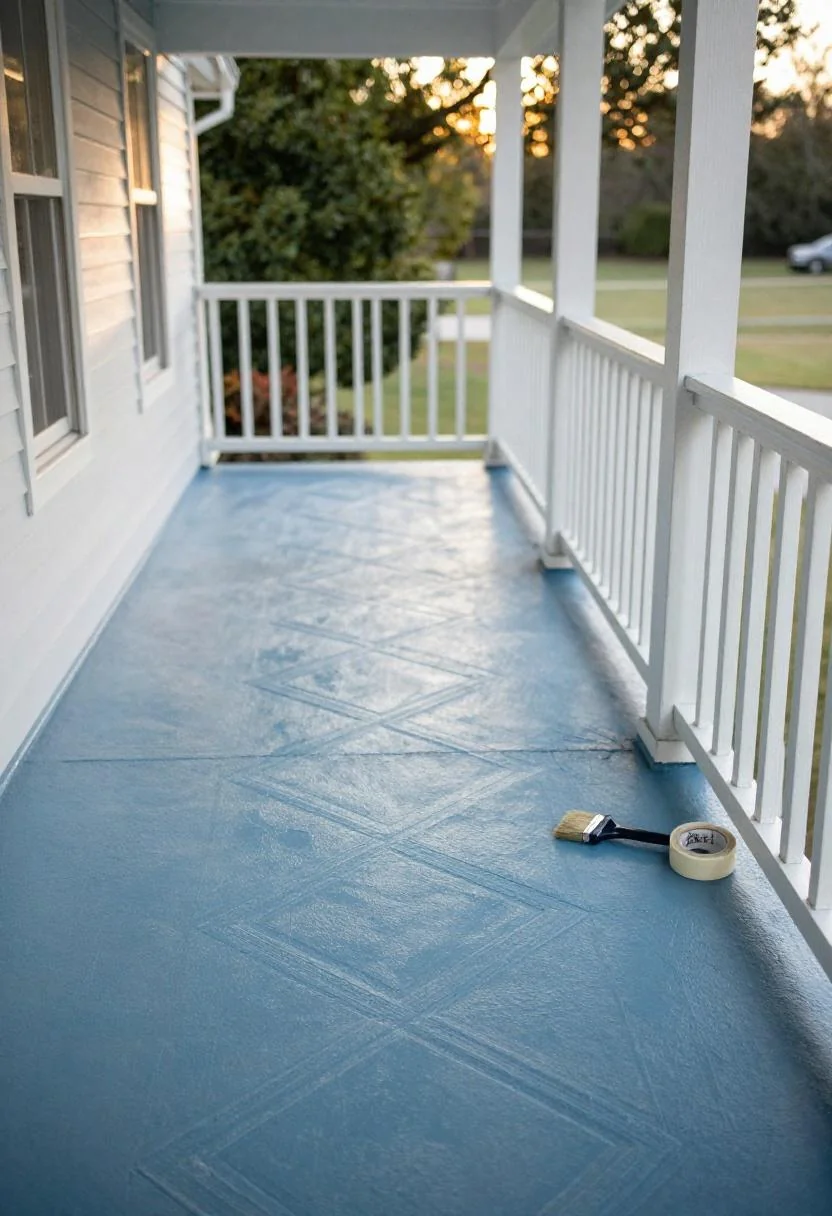
Have you ever looked at a patterned floor and wondered if it was tile or paint? More often than not, it's paint. A cool blue diamond stencil pattern across a cracked front porch — photographed in golden hour light, which does the stencil a lot of favors — demonstrates exactly how geometric pattern redirects the eye. You don't see the crack. You see the pattern.
Concrete stencils are widely available on Amazon and reusable across multiple projects. Tape them down firmly at every edge to prevent bleeding, use a dense foam roller with minimal paint load, and work in sections. The cool blue here is unexpected on a front porch — bold enough to be a conversation starter, calm enough to not overwhelm. As House Beautiful has covered extensively, painted porch floors are one of the highest-impact, lowest-cost upgrades in home curb appeal.
Let the Cracks Stay: The Cozy Imperfection Approach
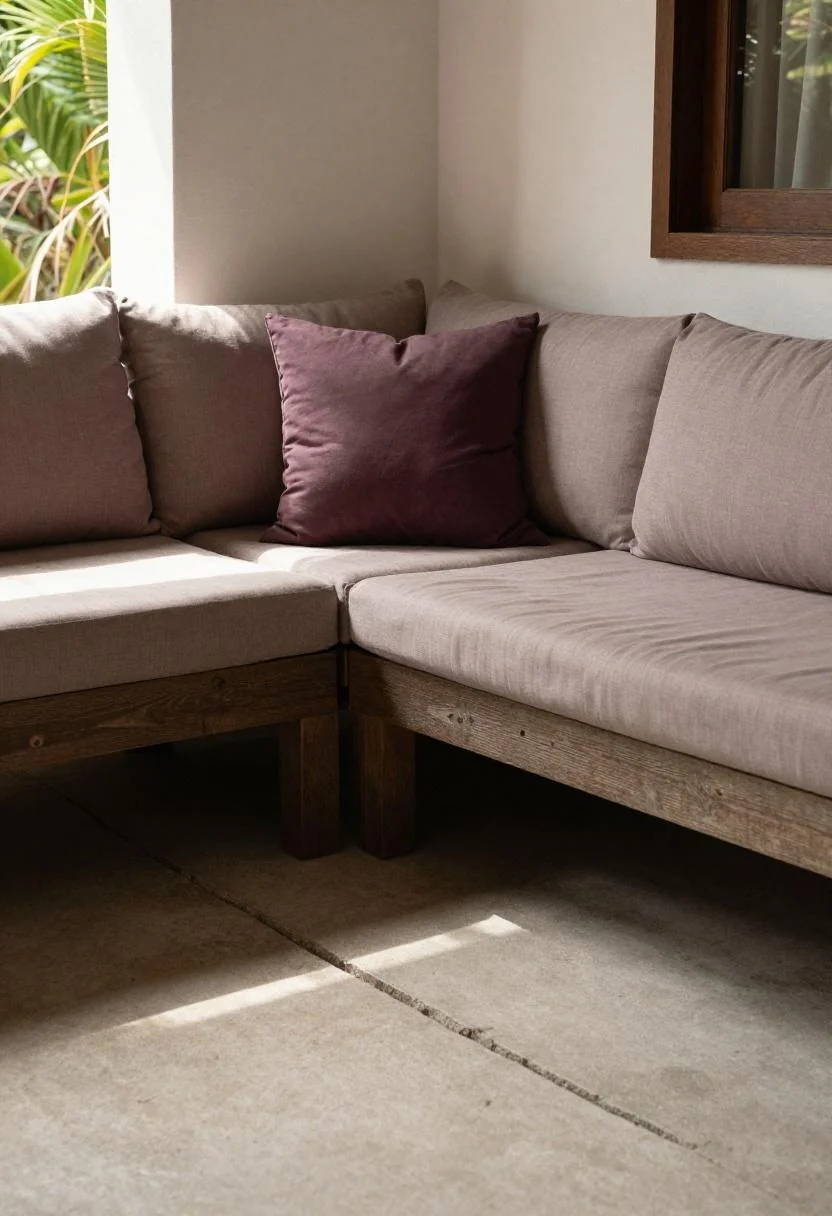
Plum cushions on a teak bench, lush tropical foliage pressing in from the edges, and a visible concrete crack running right through the frame. And it works. The crack doesn't ruin it — it anchors it to reality in a way that feels warm rather than neglected.
This is the hygge principle taken literally outdoors: embrace the worn, the imperfect, the well-used. Layer in softness (those plum cushions are doing enormous work here), add texture through natural materials like teak, and let the concrete be what it is. Sometimes the most powerful makeover is a mindset shift plus great textiles.
Mosaic Inlay Along a Garden Path
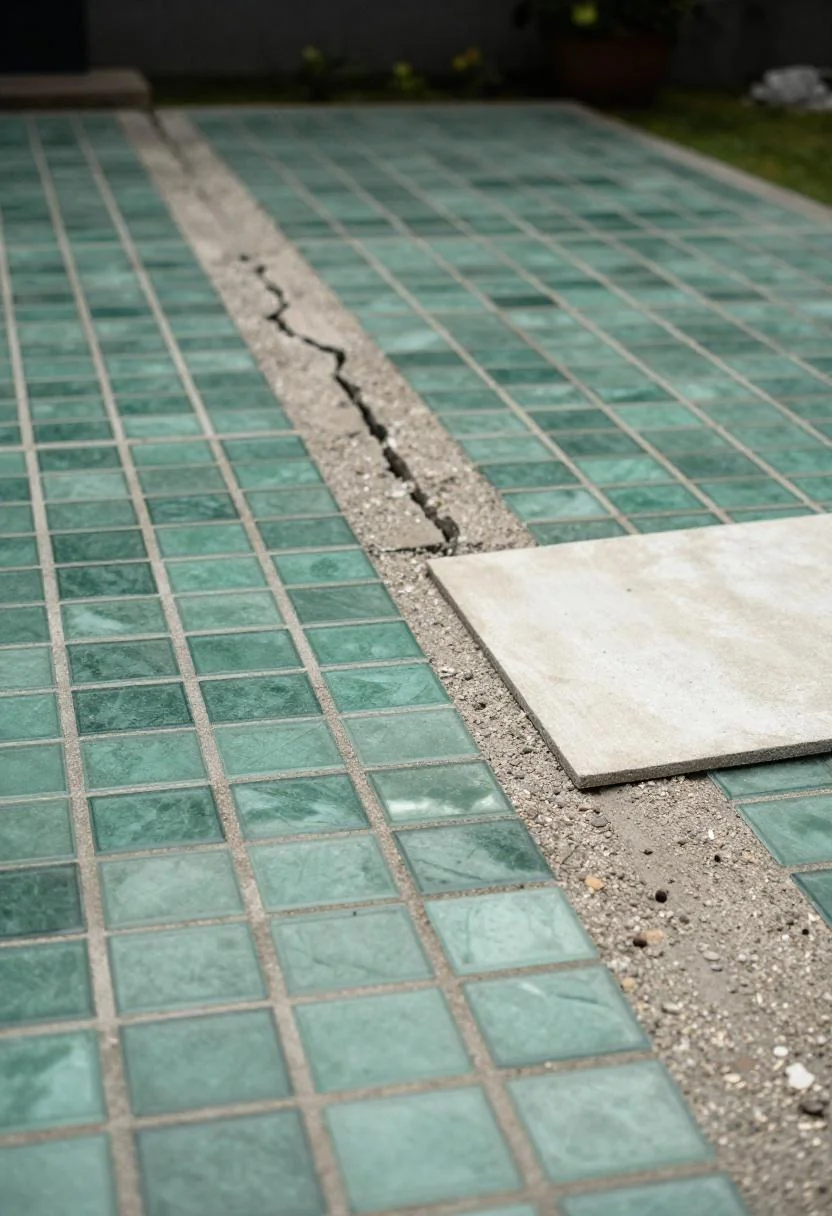
Jade green mosaic tiles set directly into cracks along a garden path — seen from above, it looks like the ground itself grew something beautiful. This technique involves routing out the crack slightly to create a channel, then pressing in mosaic tiles with outdoor adhesive and grouting around them. Labor-intensive? A little. Unique? Completely.
Mosaic tile sheets make this much more approachable than placing individual tesserae — cut them to fit the crack width and press in sections. The result is a garden path that looks like it belongs in a walled courtyard in Andalusia. For more ideas on working with plants and borders around these kinds of paths, check out how to edge a flower bed like a pro — the edging techniques translate directly to path borders.
The Painted Planter Trick (Dusk Edition)
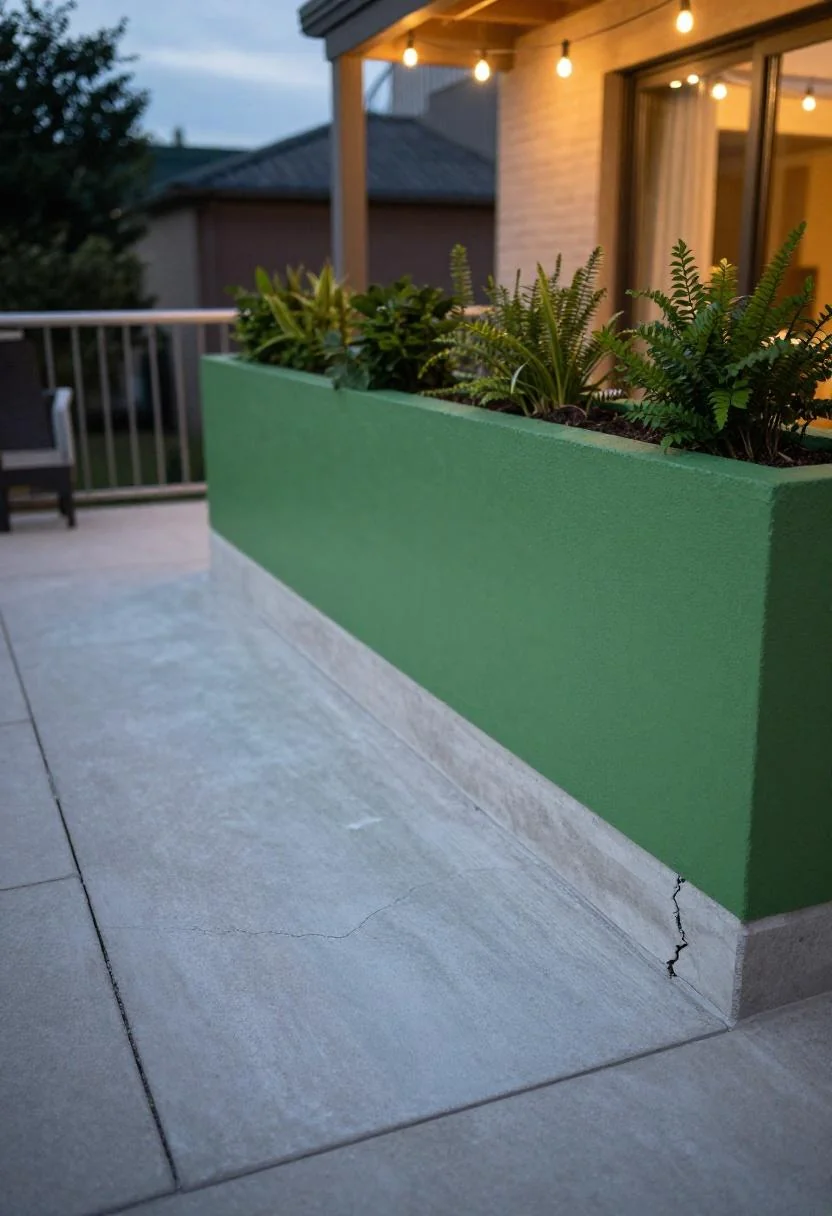
This one is my favorite kind of honest — mid-project cracked concrete still very much visible, but that wasabi-painted planter box and string lights overhead are already pulling the whole space forward. You can see exactly where this is going, and it's going somewhere good.
Painting planters to coordinate with your concrete treatment is a small move that creates visual cohesion across a space. Wasabi — that yellow-green that reads both fresh and unexpected — works especially well on balcony patios where you want the planting to feel integrated rather than plopped down as an afterthought. Use exterior chalk paint on wood planters for a matte, slightly chalky finish that photographs beautifully and holds up to weather reasonably well (a top coat of outdoor varnish extends the life significantly).
Penny Tile Over Repaired Concrete: The Polished Finish
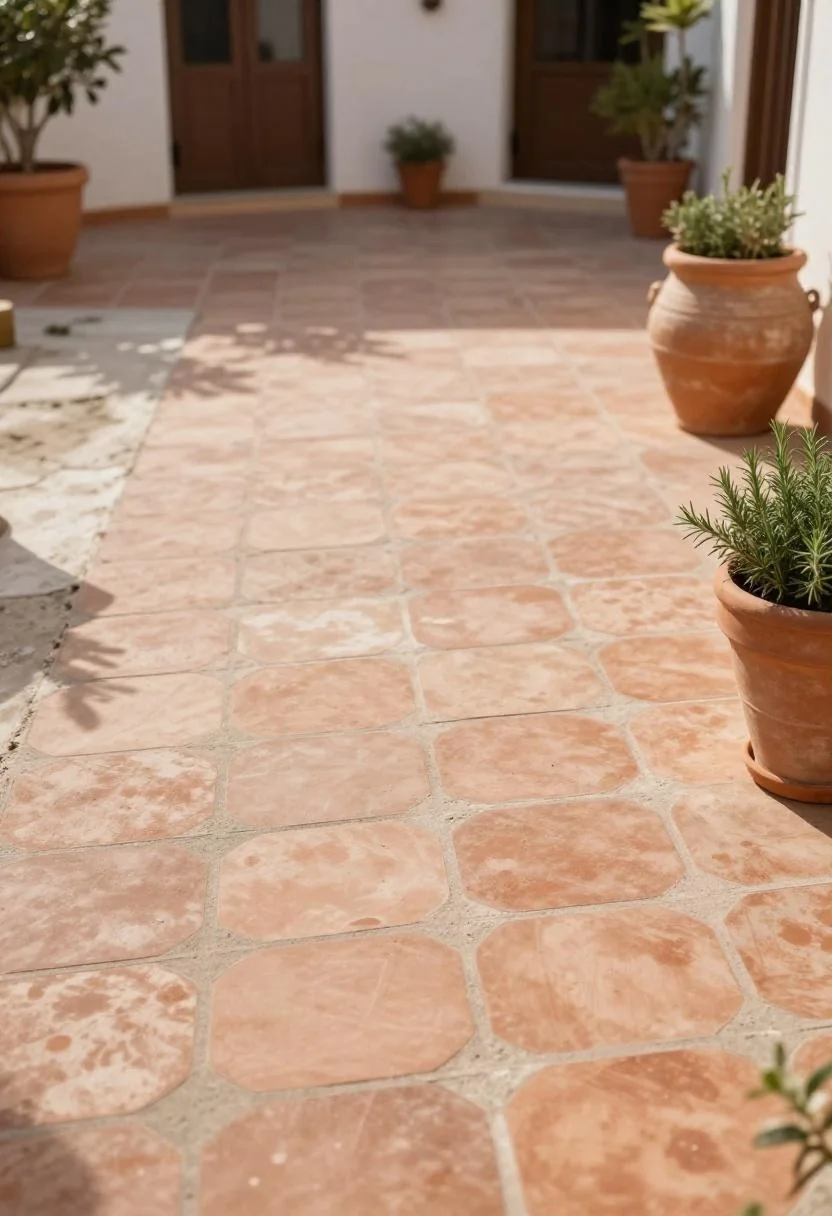
Warm terracotta penny tiles in morning light on a Mediterranean patio — this is the "after" that makes the work feel worth it. Penny tiles on a patio floor are a commitment (more grout lines than larger format tiles means more cleaning) but the visual payoff is extraordinary. The small scale of the individual tiles also means they conform more naturally to slight surface irregularities in the concrete underneath.
Repair all cracks first with a concrete patching compound, let cure for 48 hours, then use a flexible polymer-modified thinset. The terracotta tone here has that warm, sun-baked quality that looks better as it ages. Morning light especially does terracotta favors — it picks up the orange undertones and softens the whole surface. If you're drawn to this aesthetic, our guide to cheap pool deck ideas that look expensive has more tile overlay inspiration that works on the same budget principle.
Peel-and-Stick Vinyl: The Fastest Flip
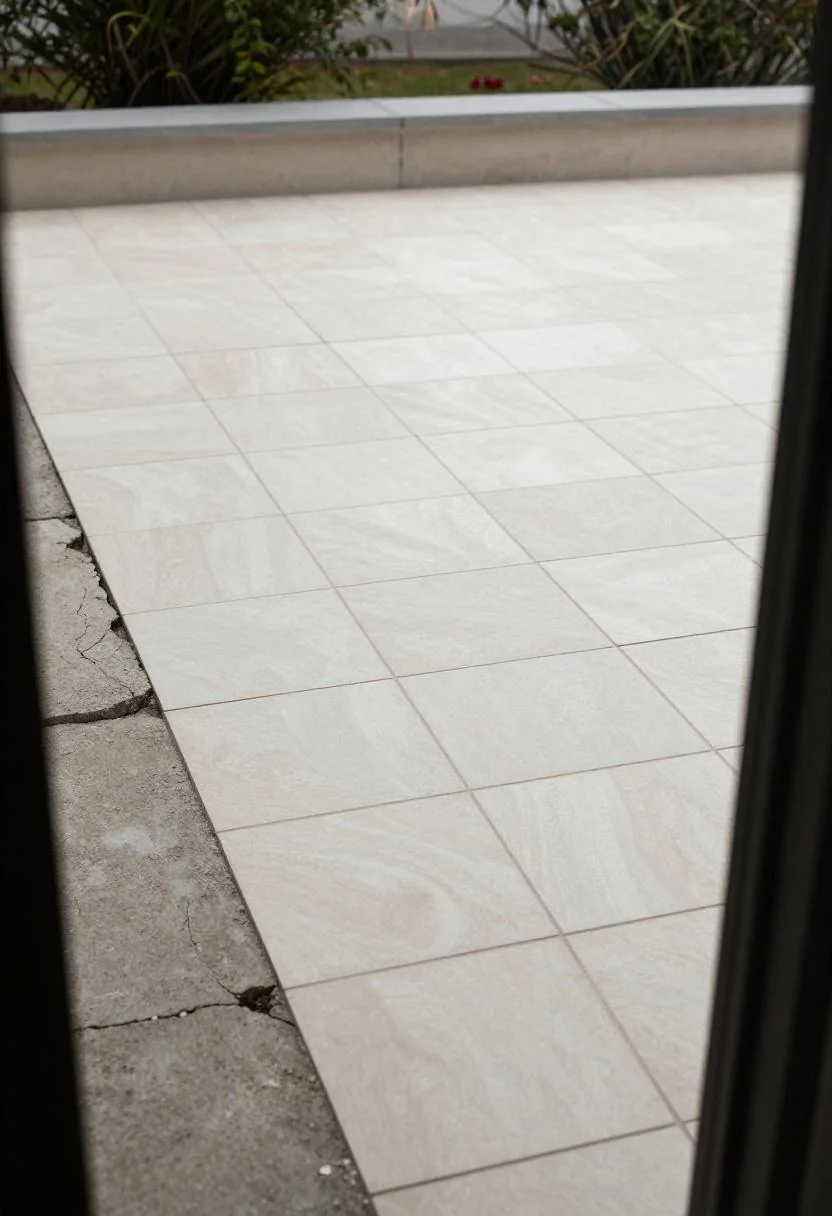
One raw corner left uncovered, the rest transformed with cream white peel-and-stick vinyl tiles. I love that this image shows the before and after simultaneously — it's the most honest possible argument for what a $40 box of peel-and-stick tiles can do to a space in a single afternoon.
Outdoor-rated vinyl tiles have improved dramatically. Look specifically for ones rated for outdoor use with UV inhibitors — indoor peel-and-stick will bubble and lift in direct sun within weeks. Outdoor peel-and-stick floor tiles are widely available now, and the cream white finish here creates a clean, almost Scandinavian patio look that's very much in the current design moment. Start from the center of the patio and work outward to avoid having tiny slivers at the edges — the classic tile-laying rule applies here too.
Making It Your Own: The Cozy Outdoor Finish
Whatever treatment you choose — paint, stain, tile, overlay, or strategic layering — the finishing layer is what makes a patio feel lived-in rather than just fixed. String lights on a timer. A weather-resistant throw draped across the back of a chair. Candle lanterns at different heights (the mix of high and low is more interesting than a row of matching ones). A small tray with your morning coffee supplies, left out like an invitation.
The color story running through these looks — plum, jade, wasabi, persimmon, terracotta, sage — tells you something about where outdoor design is heading. Away from all-gray everything and toward color that has warmth and personality. As Architectural Digest has noted, the shift toward bold outdoor color is one of the defining design moves of this decade, and the patio is the easiest place to experiment because the stakes feel lower than interior walls.
The cracks? They might actually be the best thing that happened to your patio. They forced you to look at the space differently. And now look what you're doing with it.
This post contains affiliate links. We may earn a commission at no extra cost to you.
Images in this article were created with AI assistance.


